
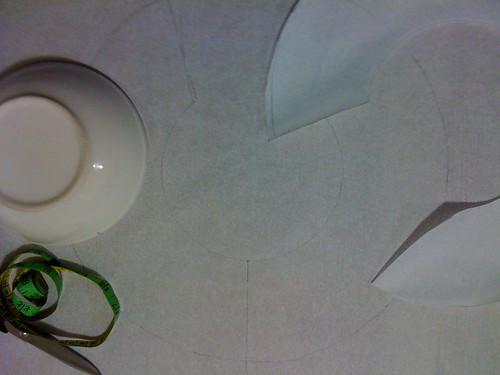
So I was working on the dress today! The first real thing I needed to do was finish drafting all the pattern pieces. Nicole and I discussed wednesday how to go about creating the pattern piece for the peplum and decided the best way to get what I wanted was to copy how you add flounce to a skirt hem without gathering.
Basically you draw sections of your hem as a circle, so when the inner circle is straightened out to be sewn onto the skirt hem (of bodice hem in my case) it fits exactly along the hem but the outer edge ripples since it's longer. I found an appropriate looking bowl, measured out my waist in inches, and drew! It's rather hard to see in the picture, but the front piece ended up looking quite like a toilet seat, and then to get the full affect all the way around the dress, I just copied the first circle and split it in half. (totally worked on the dress!)
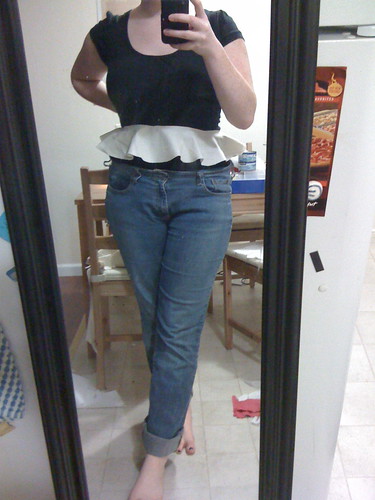
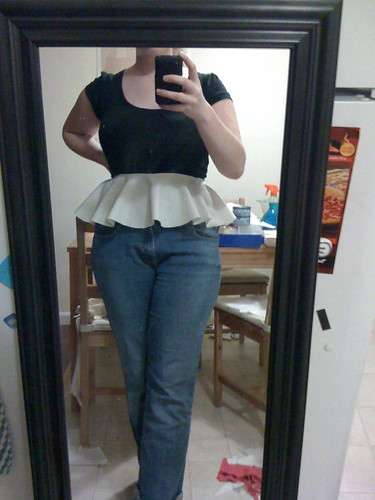
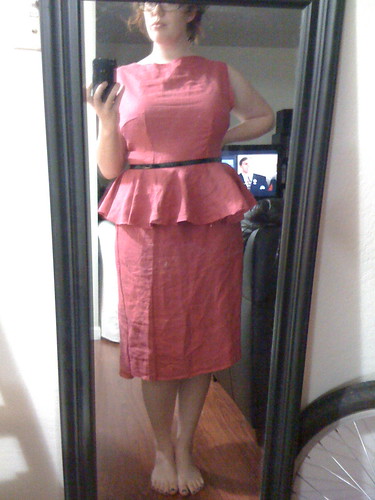
Now ignore the ill fitting clothes in these pics, but left is the first peplum length I tried. I originally wanted it no longer than 4 inches because I believed that any longer and it would only emphasize the widest parts of my legs, but I ended up going with roughly 6 inches (the picture on the right).
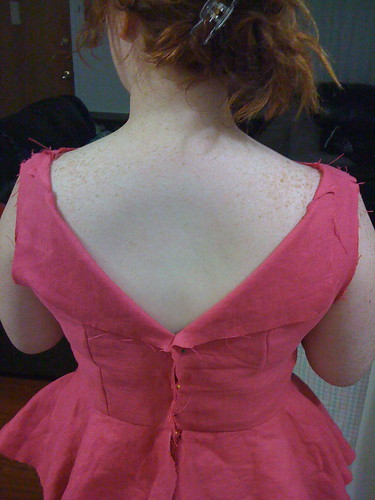
After cutting out all the pieces and sewing together everything except the back seam (zipper) I had my boyfriend help me pin myself in. Half-way through pinning though, I realized the fabric did this LOVELY v-shaped neckline that I decided to record, and would really love to put into another dress this year! Isn't it super cute?!
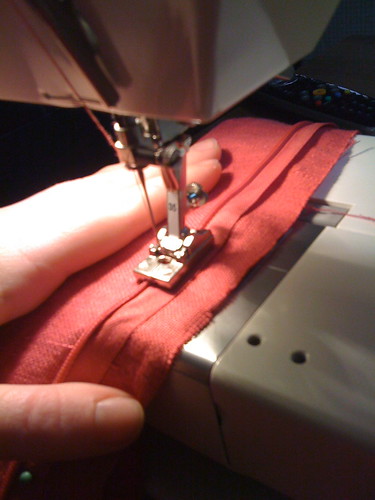 So I sewed on the zipper. I've never used an invisible zipper foot before but it was so nice! It was hard not to get excited. It just sewed with the zipper so easily! It would have been magnificent if I hadn't pinned the zipper down all wrong. I ended up skewing the zipper and dress so poorly that you literally could not have the dress hang properly (all facing the same direction, and not inside out) without the zipper being twisted badly. I had to unstitch the whole 22" zipper. After 30 minutes of seam ripping and trying to not cry, or scream, I re-pinned the fabric and zipper; I made sure the waistlines matched up, and the rest of the dress wasn't too lop-sided. (turns out most of the fabric I got from my grandmother never got put on the correct grain. awesome)
 Overall, it could have been worse. Since the fabric was off grain the darts all came out wonky. I still haven't been able to figure out how to take the extra fabric out of the armscye without adding a tuck. I need to take in the bottom of the skirt a bit. I haven't finished any edges. I desperately need to iron it all out. I am so lazy. I shall work on it more over the weekend. Next plan of action though, is to get in the zipper... I think I may also need a little online tutorial on how to properly use my new zipper foot.
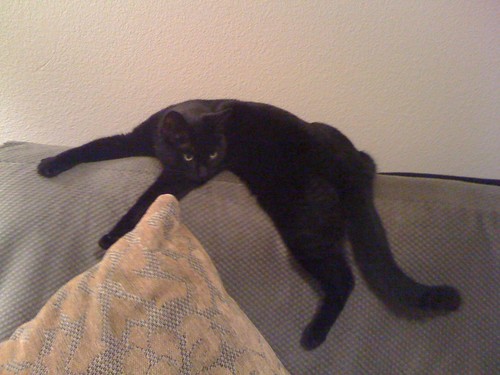
And since you read through all of that without leaving
here is a bonus shot of Pandora, Nicole's Cat,
supervising my pattern drafting on wednesday.
regarding the V-shaped neckline in the back: I'm going to a wedding in april, and was drawing up a pencil-skirted dress with a wide V in back exactly like the one seen on you. what do you think?
ReplyDeleteThis tutorial was helpful. I can probably help you, too. One important note from Rhonda is to do the zipper BEFORE you do the rest of the seam.
ReplyDeleteyou know.. I think i'll just do that.. detach the side seam for one size of the zipper.. that'll make things MUCH EASIER.
ReplyDeleteSusan. Yes. We should work on it. I'll make it my March Dress so it'll be done in-time for the wedding! awww.. I think april wedding and now all I can think of it lavender. I know you wouldn't want to do that, but it would be so cute!